In This Section
1. Customer Service Portal
1.1. Registering for an account
1.2 Enter email address
1.3 Personal details
1.4 Nationality
1.5 Create Password
1.6 Verify Mobile
2. ID-Pal (Customer Service Portal)
2.1 Downloading ID-Pal
2.2 Choose document
2.3 Scan document
2.4 Enter personal details
2.5 Confirm details
3. Navigating the Customer Service Portal
3.1 Dashboard
3.2 Book first time registration appointment
3.2.1 Location
3.2.2 Temporary Protection
3.2.3 Permission to reside
3.2.4 Permission type
3.2.5 Individual or Family Type
3.2.6 Choose Immigration Office
3.2.7 Choose Date and Time
3.2.8 Submit Appointment
3.2.9 Change of Cancel Appointment
3.3 Queries
3.3.1 Query Category
3.3.2 Query Details
3.3.3 Submit Query
3.3.4 Check Status
4. Appendix: Third Party Queries

1. Customer Service Portal
The Customer Service Portal for immigration is an online portal that can support you to:
- Book and change first-time registration appointments
- Check the status of your applications
- Raise queries with our customer service team
You cannot use the Customer Service Portal to renew permission to stay in the state or make applications. You can renew your permission on our website.
1.1 Registering for an account
To get started, visit the Customer Service Portal web page
Select Log In/Register to begin: choose your language using the dropdown

If this is your first time using the Customer Service Portal, you should click on ‘Don’t have an account?’ to start registering

1.2 Enter email address
The first thing you need to do is enter your email address. You can only use one email. Make sure you use the same email address you’ll use for future applications. We do not recommend you use a work or college email

The portal will then verify your email address. You will be get code to confirm this via email.
You should see this message in your inbox. If you can’t find it, check your spam or junk folder.

Return to the Customer Service Portal and enter the code.
You should see this message in your inbox. If you can’t find it, check your spam or junk folder.
1.3 Personal details
This will bring you to the personal details section. Enter your name, date of birth and mobile phone number.
Your personal details should match those on your identity documents. If your passport or driving license includes a middle name in ‘forename,’ include it here.
Write your date of birth in DD/MM/YYYY, with days coming before months.
If your personal details do not exactly match what is on your identity document you will not pass our authentication process.
Include your phone number with the correct country code. The number must be for a mobile phone as we will send a verification text to your phone.

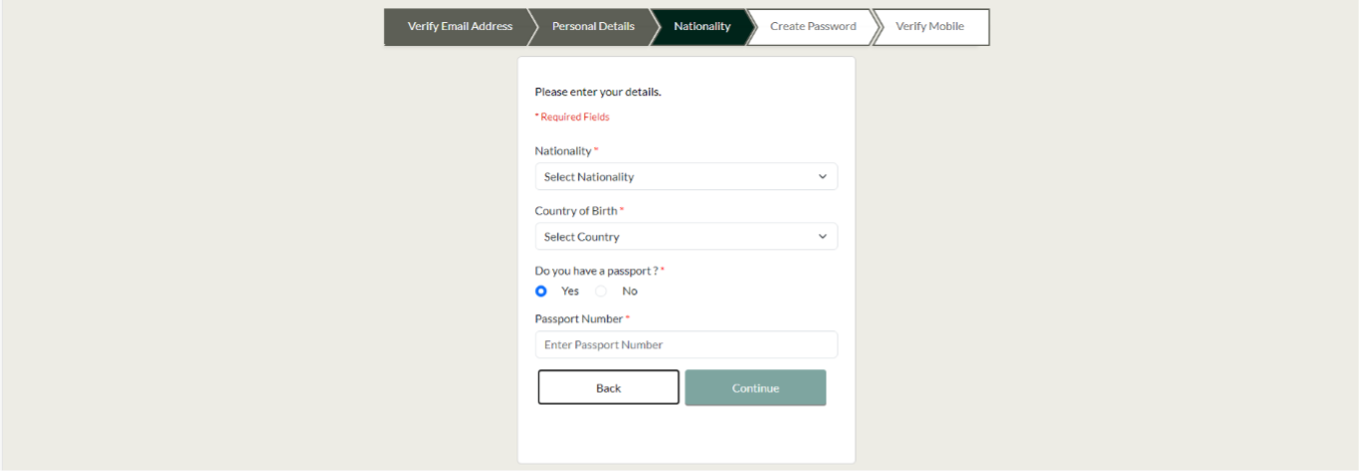
1.4 Nationality
Enter your nationality and country of birth. Enter your passport number, even if it’s not the document you’ll use for applications. If you don’t have a document you can email [email protected].
We will accept an expired passport if you provide a supporting letter from the embassy confirming you applied for a new passport. Where no expired passport exists, we accept the grant letter and blue card from the International Protection Office (IPO).
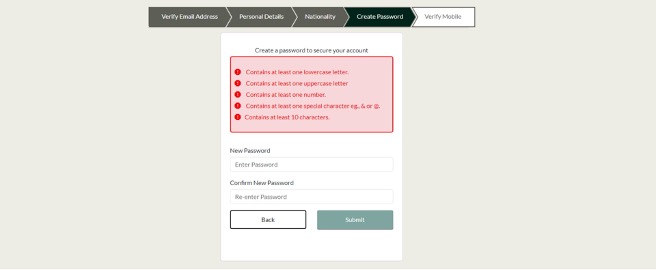
1.5 Create Password
Choose a password for your account. The password must include:
- At least one lowercase letter
- At least one uppercase letter
- At least one number
- At least one special character (! , @)
- At least 10 characters
1.6 Verify Mobile
Enter a phone number so we can send you a code. This should be the same phone number as you entered before.

Return to the portal and enter the code to continue.
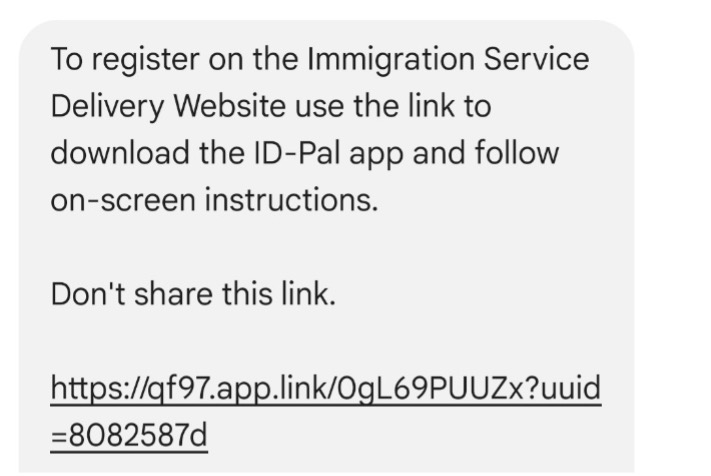
You will need to download an app called ID-Pal. You will get a text with a link to download the app.

2. ID-Pal
2.1 Downloading ID-Pal
When you click the link in the text, you will be sent to download the ID-Pal app.
After you download the app, click the link again to start ID verification.
Do not share the link with anyone.
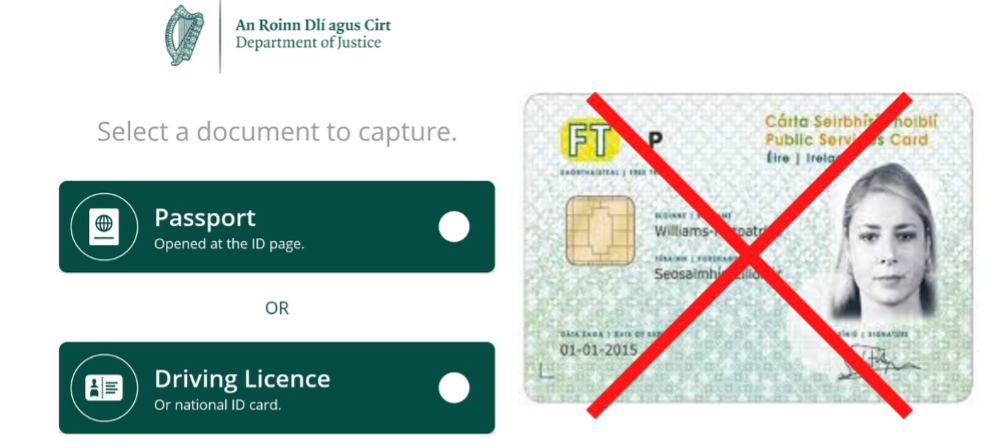
2.2 Choose document
Choose a document to verify your identity. You can use a passport or driving license. Public service cards won’t be accepted.
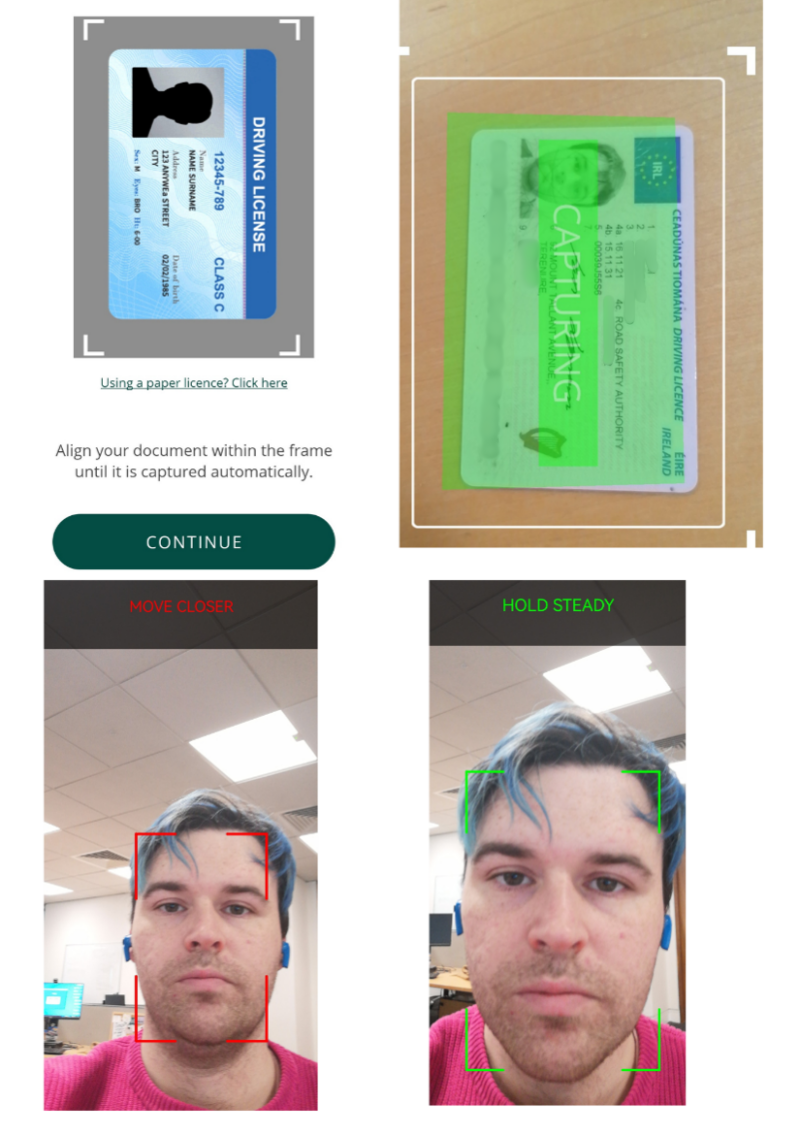
2.3 Scan document
You must now scan your document. Click ‘continue’ and your phone camera will begin the scan. Wait until the document is within the frame seen below and hold still while the app captures the image. Repeat this with the other side of the document These images must be clear. Do not take pictures of photocopies. Make sure your hand or fingers aren’t visible and do not use camera flash.
Next, you have to confirm identity with facial scan. Hold your phone in front of your face until the frame is green and wait for the scan to complete.
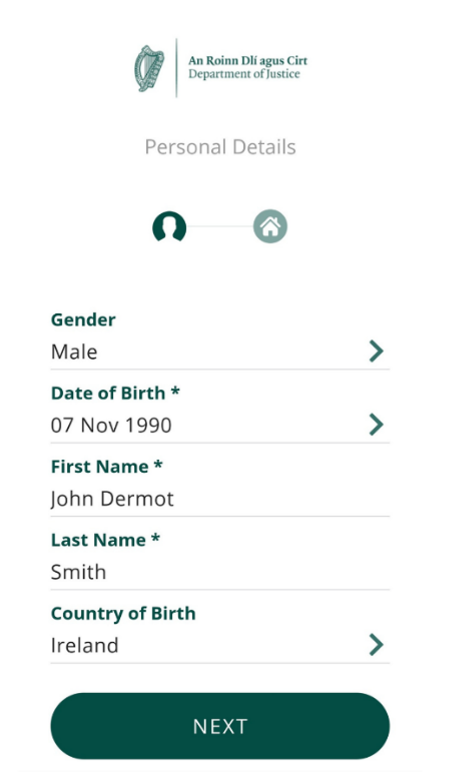
2.4 Enter personal details
You will now enter your personal details. The app may automatically fill some details based on the scan, so check if they are correct. Include your full name as listed in your document.
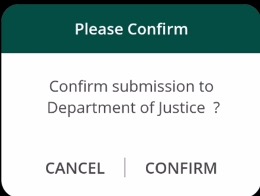
2.5 Confirm details
Once you enter your personal details, you will be asked to confirm this. Confirming submission will complete your registration with ID-Pal and open access to the immigration portal.
3. Navigating the Customer Service Portal
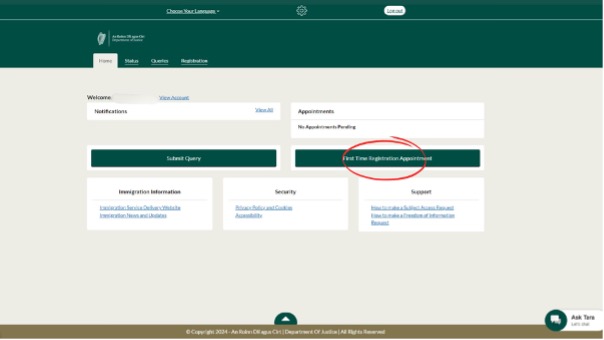
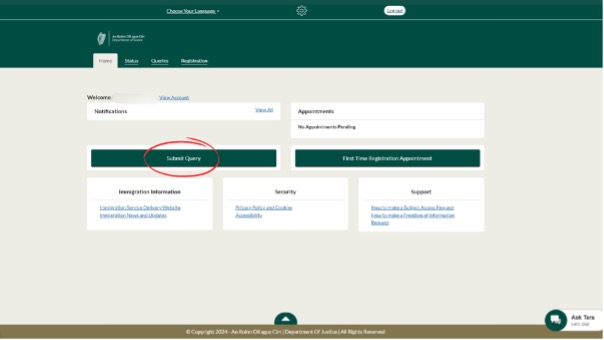
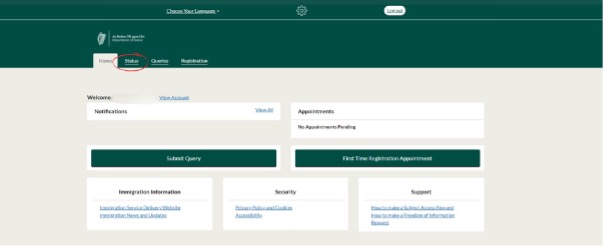
3.1 Dashboard
Once you log in, the account should look like this
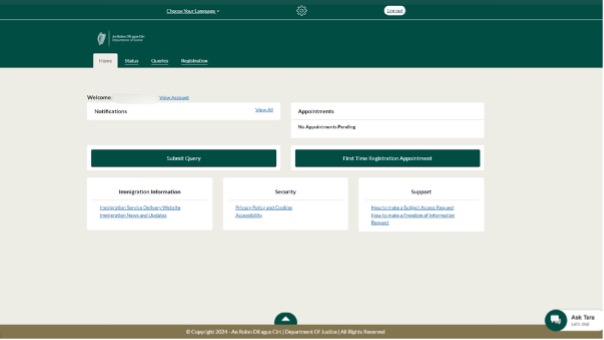
3.2 Book first time registration appointment
To book your first appointment, click ‘First Time Registration Appointment.’
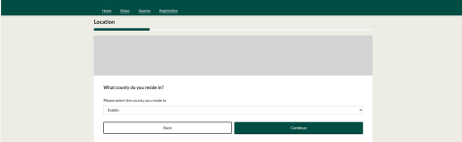
3.2.1 Location
Select which county in Ireland you are currently living in
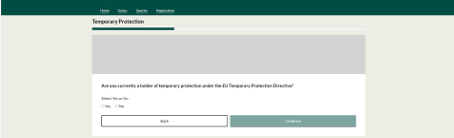
3.2.2 Temporary protection
Select whether or not you hold temporary protection under the EU Temporary Protection Directive
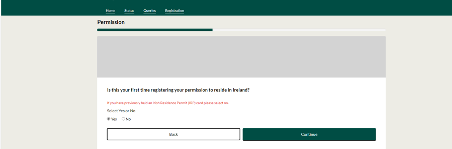
3.2.3 Permission to reside
You should say if this is your first time registering for permission to remain in Ireland.
You should answer ‘no’ if you previously held an Irish Residence Permit (IRP). If you need to renew your registration, you can do it here.
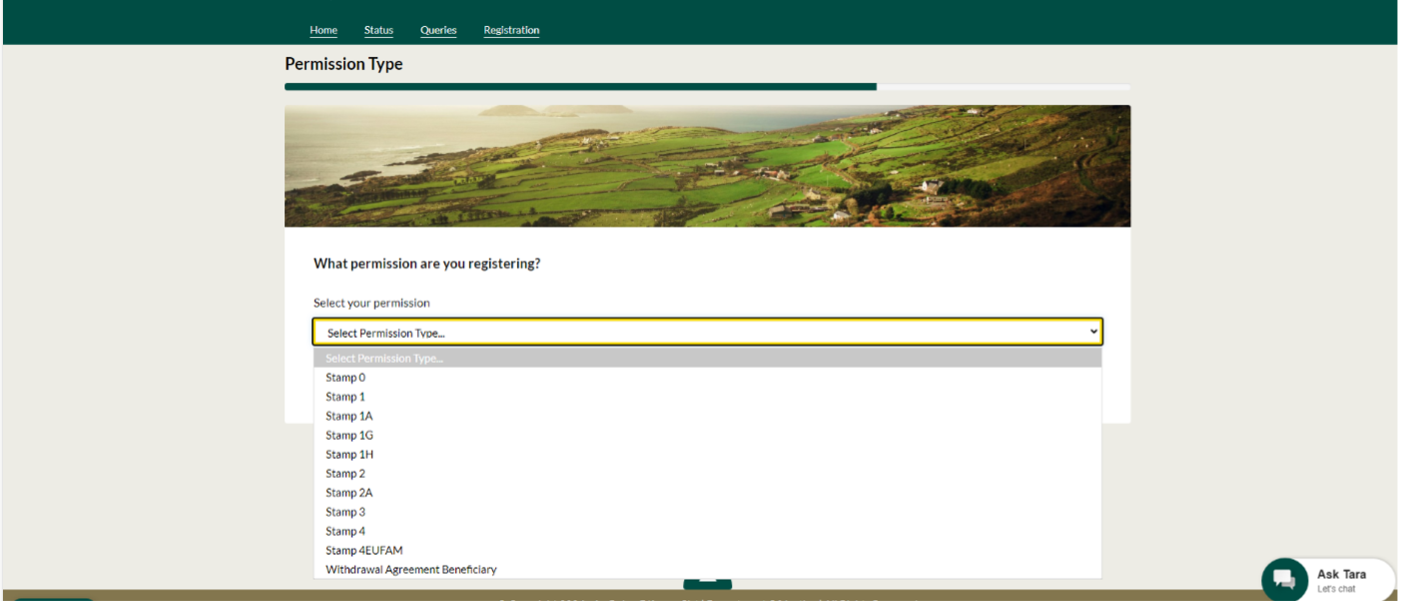
3.2.4 Permission Type
Select what permission you are registering for. To learn more about the conditions for these permissions, visit this page.
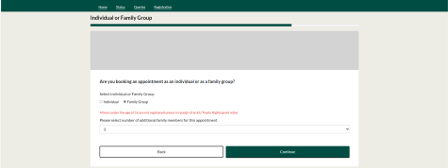
3.2.5 Individual or Family Group
For certain permissions you may be asked whether you are booking for yourself or as a family. If you are registering as a family, select how many will be coming to the appointment.
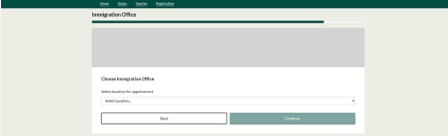
3.2.6 Choose Immigration Office
Select your appointment location.
3.2.7 Choose Date and time
Select a date and time for your appointment using the calendar below. Remember, you must register within 90 days of arriving in Ireland.

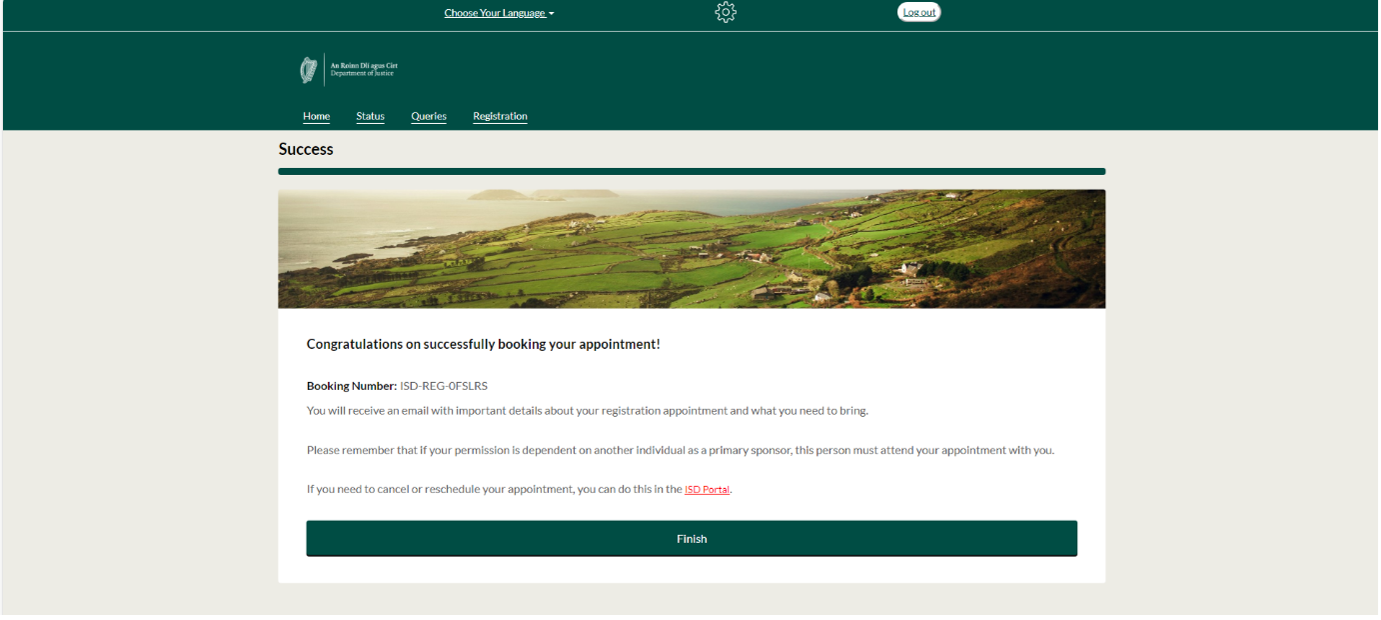
3.2.8 Submit Appointment
Once you have booked an appointment, you will get an email confirming this.
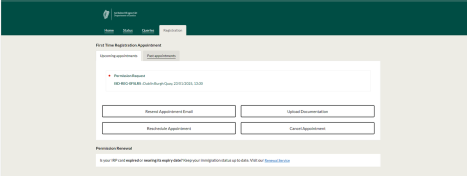
3.2.9 Change or Cancel Appointment
If you want to change or cancel your appointment, click ‘registration’ to see your options.
3.3 Queries
To submit a query with a member of our customer service team, click ‘Submit Query’.
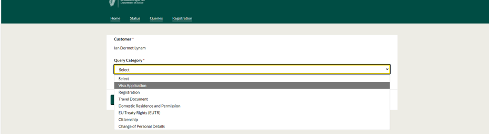
3.3.1 Query Category
Help us answer your query faster by choosing one of the following query categories
- Visa Application: questions about how to complete your visa application
- Registration: ask about registering for your IRP card
- Travel Document: request the return of documents, register changes in address on documents, request emergency documents
- Domestic Residence and Permission: request return of passport from DRP and ask about eligibility for applications
- EU Treaty Rights (EUTR): ask about eligibility, how to change your permission and what application to submit
- Citizenship: ask about applying for citizenship through birth, descent or naturalisation
- Change of Personal Details: request changes to your name, address or contact information on current applications
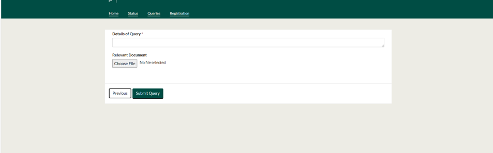
3.3.2 Query Details
Describe your query and how we can support you. You can attach relevant documents like travel documents, medical records or school transcripts. You should submit these as PDFs, JPEGs or PNGs no larger than 5MB.
3.3.3 Submit Query
Once you submit your query, you should see the notification below. You can check the status of your queries using the ‘Queries’ button on the top bar.

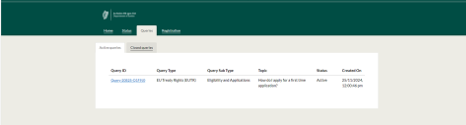
3.4 Check Status
You can find out more about your current applications by clicking ‘Status’
Appendix: Third-Party Queries
Solicitors or NGO workers can support clients through the immigration process using the Customer Service Portal. To do this, you must set up your own account on Customer Service Portal. You cannot set up a Customer Service Portal account on someone else’s behalf. However, once you have set up an account you can make a query on their behalf.